DIY Hydroponic System: Easy Step-by-Step Guide
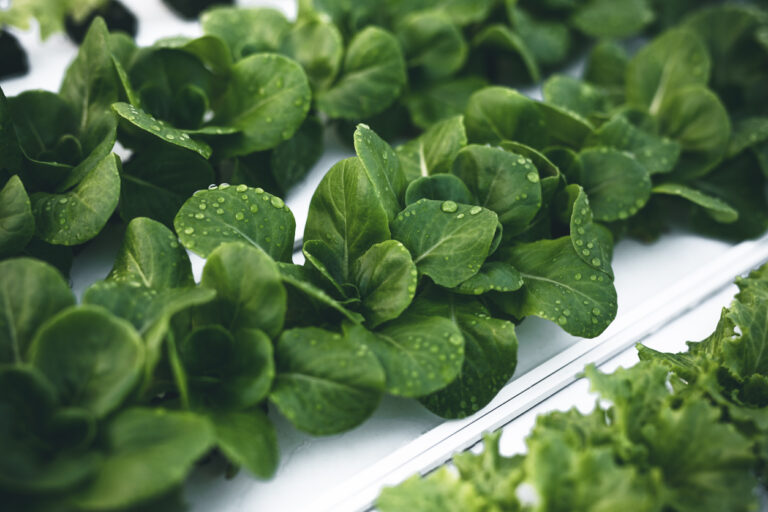
Are you ready to take your gardening game to the next level? A DIY hydroponic system allows you to grow plants indoors or in small spaces without soil. This method of growing is not only space-efficient, but it’s also highly sustainable and resource-conscious, making it perfect for the eco-minded gardener. Whether you’re looking to grow herbs, vegetables, or flowers, a hydroponic system can offer year-round growth with minimal water and effort.
In this guide, I’ll walk you through the process of building your own hydroponic system at home. No prior experience is needed—just a willingness to experiment and a desire to grow your own food indoors. Let’s dive in!
What Is a DIY Hydroponic System?
Before we jump into the build, let’s quickly cover the basics. A DIY hydroponic system allows you to grow plants indoors or in small spaces without soil. If you’re looking for more in-depth details, check out this comprehensive guide on DIY hydroponic gardens from the University of Florida’s IFAS Extension.
Instead of soil, the plant roots are supported by an inert growing medium like perlite, coconut coir, or clay pebbles. The water, enriched with essential nutrients, delivers everything the plant needs directly to the roots.
The main benefit of hydroponics is efficiency—plants grow faster and often produce higher yields than traditional soil gardening. Plus, because you’re recycling water, it uses far less than traditional gardening methods.
Choose the Right Materials for Your DIY Hydroponic System
Building a hydroponic system can be surprisingly simple, and you don’t need many specialized tools. Here’s a list of basic materials required for this project:
- A water reservoir (a large plastic container or storage bin works well)
- Net pots (small mesh pots that allow roots to grow through)
- Growing medium (hydroton clay pebbles, perlite, or coconut coir)
- Air pump and air stone (to oxygenate the water)
- Hydroponic nutrients (you can find these at garden centers or online)
- pH testing kit and pH adjusters (to keep the water balanced)
- Water pump (for larger systems, to circulate water)
- PVC pipes or tubing (for a more advanced setup)
- LED grow light (if growing indoors without natural sunlight)
- Drill with hole saw attachment (for cutting holes in your container)
- Waterproof adhesive or silicone (to seal any leaks)
Step-by-Step Guide to Building Your Hydroponic System
Let’s break it down into easy steps:
Step 1: Choose Your System Design
There are several types of hydroponic systems, but for a beginner DIY project, I recommend starting with either the Deep Water Culture (DWC) or Kratky method.
- Deep Water Culture (DWC): This method involves suspending the plant roots directly into a water reservoir with constant oxygenation from an air stone.
- Kratky Method: This is a passive system that doesn’t require any pumps or electricity. The plant roots grow into the water reservoir, which depletes over time, forcing the roots to search for more nutrients.
For this tutorial, I’ll guide you through building a DWC system, which is slightly more active but provides faster plant growth and higher yields.
Step 2: Set Up the Water Reservoir
Your reservoir is the base of your hydroponic system. A large plastic storage bin or tote with a lid works well for this.
- Choose a container size depending on the number of plants you want to grow. A 10-gallon container can support around 4-6 plants comfortably.
- Drill holes in the lid of the reservoir using a hole saw attachment. The holes should be large enough to fit your net pots snugly. If you’re using 3-inch net pots, drill 3-inch holes.
Be mindful of spacing; you want enough room for each plant to grow without crowding.
Step 3: Install the Air Pump and Air Stone
One of the most important components of a DWC system is oxygenating the water. Without proper oxygenation, the plant roots can suffocate, causing your plants to die.
- Place the air stone at the bottom of the reservoir. The air stone is connected to the air pump via tubing, and it will create bubbles that oxygenate the water.
- Position the air pump outside of the reservoir, and run the tubing through a small hole in the side of the container (or the lid). Use waterproof adhesive or silicone to seal around the tubing and prevent leaks.
Make sure the air pump is on a surface where it won’t get wet, as it’s an electrical component.
Step 4: Add Water and Nutrients
Once your reservoir is set up, it’s time to fill it with water and nutrients.
- Fill the reservoir with water until it reaches about 1-2 inches below the net pots. If you’re using tap water, let it sit for 24 hours to allow chlorine to dissipate, or use filtered water.
- Add hydroponic nutrients according to the instructions on the package. Hydroponic nutrients are different from traditional fertilizers because they contain all the essential minerals needed for plant growth. Be sure to measure carefully to avoid overfeeding your plants.
- Test the pH of the water using a pH testing kit. Most plants prefer a pH between 5.5 and 6.5. Use pH adjusters to raise or lower the pH if necessary.
Step 5: Prepare and Place Your Plants
Next, it’s time to prepare your plants. You can either start with seeds or use seedlings that have already germinated.
- For seedlings: Rinse off the roots to remove any soil before placing them in the net pots. Fill the net pots with your chosen growing medium (such as clay pebbles) to support the plants.
- For seeds: If starting from seeds, place them in a seed-starting medium like rockwool or coco coir, then put the seedling cube into the net pots once they’ve sprouted.
Place the net pots into the holes you drilled in the reservoir lid, making sure the roots can reach the nutrient solution.
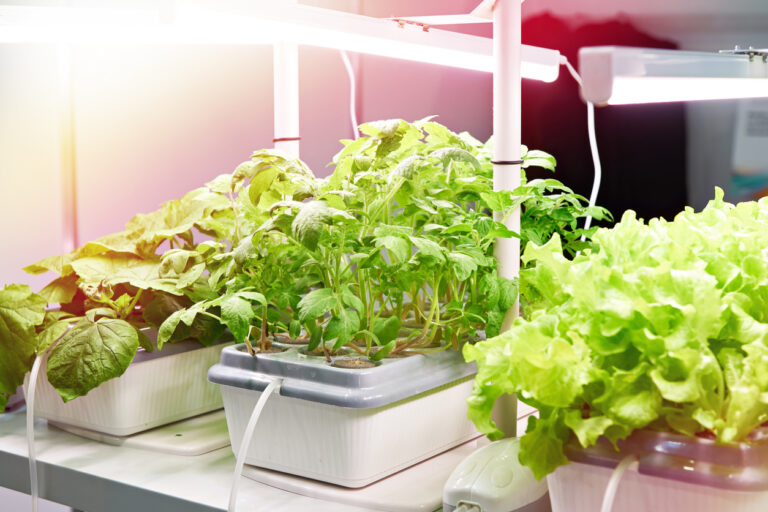
Step 6: Provide Lighting
If you’re growing indoors, your plants will need artificial lighting to thrive. LED grow lights are an excellent option because they don’t produce a lot of heat and they use less energy.
- Hang the grow light about 12-24 inches above your plants, depending on the light’s intensity and the type of plants you’re growing. Adjust the height as the plants grow to maintain proper light coverage.
- Set a light schedule: Most plants do well with 12-16 hours of light per day. Use a timer to automate your lights so they turn on and off consistently.
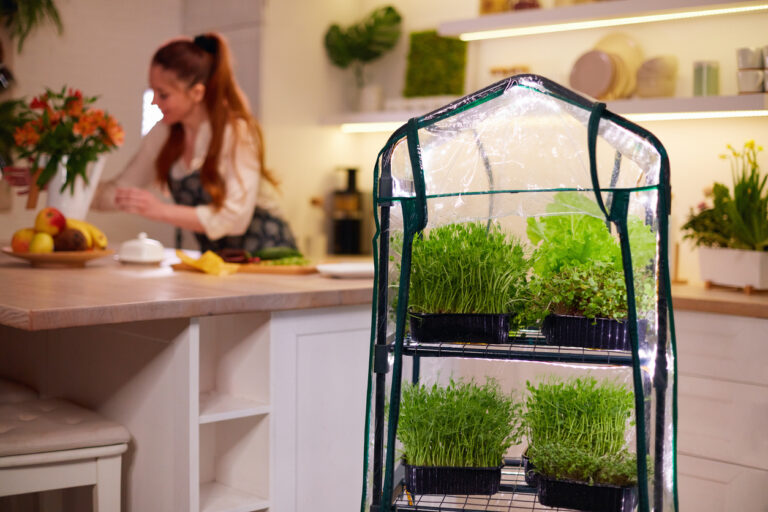
If you’re growing outdoors or in a greenhouse with plenty of natural light, you can skip this step.
Step 7: Monitor and Maintain
Now that your system is up and running, maintenance is key to keeping your plants healthy.
- Check water levels regularly. As your plants grow, they will absorb water and nutrients. Refill the reservoir as needed, making sure the roots stay submerged.
- Monitor the pH and nutrient levels. Regularly test the pH of the water, and adjust as needed to keep it in the ideal range. Every week or two, you may need to refresh the nutrient solution by emptying the reservoir and mixing a new batch.
- Watch for root health. Healthy roots should be white or light tan. If you notice brown or slimy roots, it could be a sign of root rot, which can be prevented with proper oxygenation and clean water.
Step 8: Harvest and Enjoy!
After a few weeks to months (depending on the plants you’re growing), it’s time to harvest! Herbs like basil or mint may be ready in just a few weeks, while larger vegetables like lettuce or tomatoes may take a bit longer.
- Harvest regularly: For leafy greens and herbs, snipping off leaves encourages the plant to produce more, extending your harvest period.
- Clean and maintain the system: After harvesting, clean the reservoir and all system components with a mild bleach solution or hydrogen peroxide to prevent the growth of algae or bacteria. You’ll then be ready to start a new crop!
Tips for Success
- Start small: If you’re new to hydroponics, it’s best to start with a smaller system and easy-to-grow plants like lettuce, basil, or spinach.
- Keep an eye on temperature: Water temperatures between 65°F and 75°F are ideal for most plants. Too hot or too cold, and your plants may struggle.
- Be patient: Hydroponic systems can take a little trial and error, but once you get the hang of it, it’s a rewarding way to grow food year-round.
Final Thoughts
Building your own DIY hydroponic system is a fun and rewarding project that can yield fresh produce right at home. With the steps outlined here, you should have everything you need to get started, even if you’re a beginner. The best part? Once you’ve mastered the basics, you can experiment with different systems, plants, and growing methods to take your hydroponic garden to new heights!
Happy growing!