How to Declutter Your Home in 30 Days: A Step-by-Step Plan
Decluttering your home can feel overwhelming. However, with a structured plan, you can achieve a clutter-free space in just 30 days. Whether you’re starting small or tackling the entire house, learning how to declutter your home in 30 days will not only help you reduce stress but also create a more organized environment while making room for what truly matters. This step-by-step guide will take you through the process day by day, with actionable tips and a clear path to a tidier, more peaceful home.
Before you start, gather these essential supplies to make the process smoother:
Day-by-Day Step-by-Step Plan
Week 1: Clear the Surface
The first week is all about visible clutter. To begin with, you’ll focus on clearing surfaces and tidying up spaces that are out in the open, thus making your home feel instantly more organized.
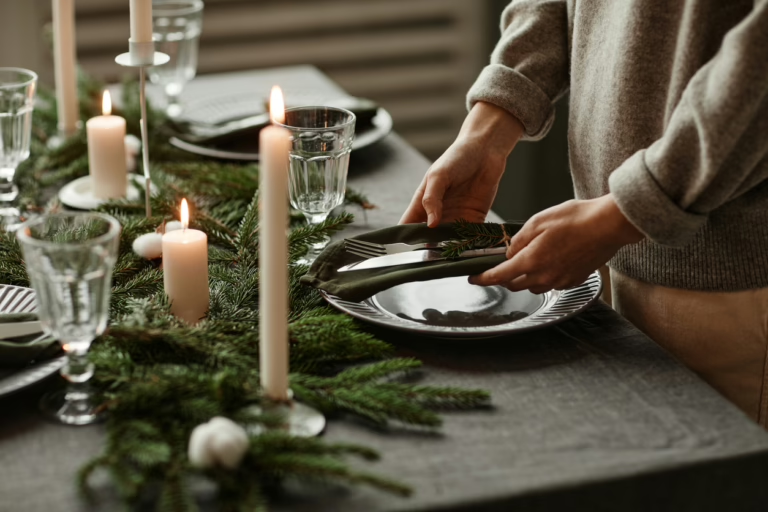
Day 1: Start with the Entryway
- Your entryway is the first thing you see when you come home. To start, clear away shoes, jackets, mail, and bags. Afterward, put away anything that doesn’t belong.
- Finally, wipe down any surfaces, sweep or vacuum the floor, and place shoes in a designated area or shoe rack.
Day 2: Tackle the Living Room
- Start with tables, shelves, and entertainment centers. Remove anything that doesn’t belong here.
- Declutter magazines, books, remotes, and toys. Return items to their homes or place them in the “Move” bin if they belong elsewhere.
Day 3: Dining Room or Kitchen Table
- Clear everything off the table. Then, throw away old mail, clean up bills, and find homes for stray items.
- Finally, wipe down the surface when you’re done and consider adding a simple centerpiece to keep the area tidy and inviting.
Day 4: Bathroom Counters
- Clear out the bathroom counters. Get rid of expired products, empty containers, and duplicates.
- Use a small tray or organizer to keep daily essentials neat and in one place.
Day 5: Bedroom Nightstands
- Clear off nightstands of old glasses, books, and clutter. Only keep what you need for your nighttime routine.
- After that, wipe down the surfaces and add a small dish or basket for items like jewelry or hair ties.
Day 6: Kitchen Counters
- Remove any appliances or items you don’t use daily. Find a home for everything that tends to pile up on the counter.
- Consider investing in baskets or bins for items like mail or keys, and keep only what’s necessary within reach.
Day 7: Quick Wins & Catch Up
- Use today to tackle any spaces you didn’t finish or that need a quick touch-up. Alternatively, pick one small area that’s been bothering you and spend 15-20 minutes working on it.
Week 2: Declutter Storage Spaces
During this week, you’ll tackle closets, cabinets, and drawers—the places where clutter hides. As a result, by the end of the week, your home will feel even more organized.
Day 8: Hall Closet or Coat Closet
- Take everything out of the closet and sort through it. Get rid of anything you don’t wear, that’s worn out, or doesn’t fit.
- Hang everything neatly and consider adding hooks or baskets for shoes, scarves, and gloves.
Day 9: Kitchen Cabinets (Part 1)
- Start with one section of cabinets, focusing on dishes, cups, and everyday essentials.
- Donate or toss anything chipped, mismatched, or unused.
Day 10: Kitchen Cabinets (Part 2)
- Move on to another section, like pots, pans, or pantry items. Get rid of duplicates or items that are no longer usable.
- Organize by category and consider using shelf risers or baskets for extra organization.
Day 11: Bathroom Cabinets & Drawers
- Sort through toiletries, makeup, and cleaning supplies. Toss anything expired, half-used, or that you don’t plan to use.
- Keep similar items together and use small bins to organize drawers.
Day 12: Linen Closet
- Pull out all towels, sheets, and linens. If anything is worn out, stained, or unused, then it’s time to let it go.
- Afterward, fold items neatly and store them in sets. Consider donating extra towels or bedding.
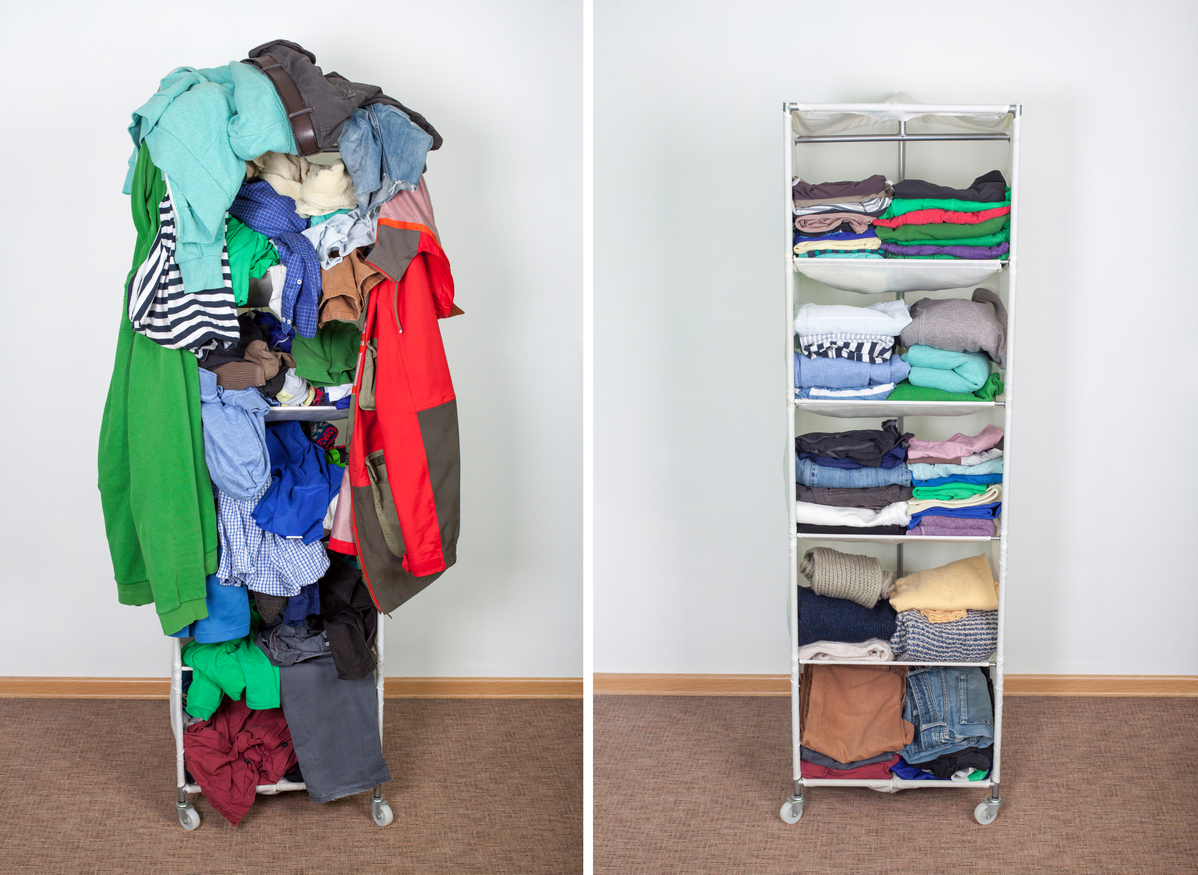
Day 13: Bedroom Closets
- Take out all clothes and assess each item. Donate or sell anything you haven’t worn in the past year.
- Use slim hangers, and keep the space organized by color or type (e.g., pants, shirts, dresses).
Day 14: Quick Wins & Catch Up
- Once again, use this day to catch up on any areas you didn’t fully complete, or focus on one last hidden area you want to declutter. On the other hand, if you’re up to date, take a small break to recharge.
Week 3: Declutter Hidden Clutter
During week 3, you’ll focus on drawers, hidden spaces, and areas that tend to collect a lot of junk. Consequently, by the end of the week, you’ll have fewer items hidden away and more space for what you truly need.
Day 15: Junk Drawer
- Dump out the contents and sort through it. Get rid of anything broken or unnecessary.
- Use small dividers to organize what remains—like pens, tape, or tools.
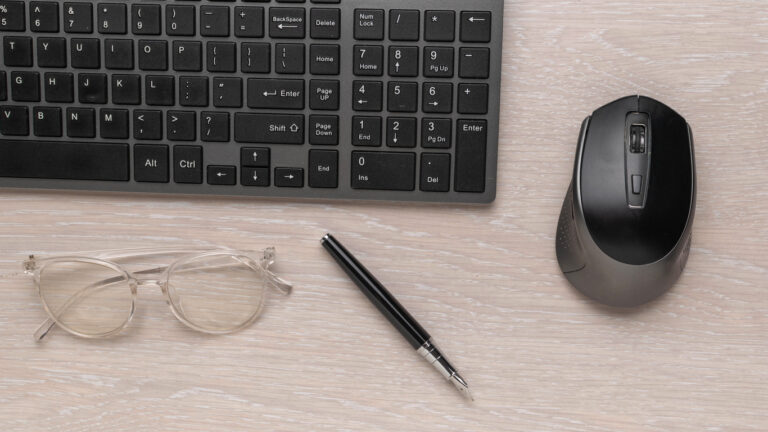
Day 16: Office Desk or Home Office
- Clear off your desk and sort through paperwork. Shred what you don’t need and file important documents.
- Use organizers for pens, papers, and supplies to keep your workspace tidy.
Day 17: Kids’ Toys or Pet Items
- Go through kids’ toys or pet supplies. Donate, toss, or store anything that’s no longer used.
- Organize toys into bins or baskets to keep the area clean and easy to manage.
Day 18: Under the Bed
- Pull out anything stored under the bed. Toss or donate items you no longer need.
- Use under-bed storage bins to neatly organize what you decide to keep.
Day 19: Bathroom Drawer & Medicine Cabinet
- Sort through medicine and personal care items. Throw away anything expired or that you no longer need.
- Consider adding a lazy Susan or drawer dividers to keep things organized.
Day 20: Kitchen Drawers
- Focus on kitchen drawers today, like the silverware drawer or utensil drawer. Toss or donate duplicates and rarely-used gadgets.
- Use drawer dividers to organize utensils, and keep only what you use regularly.
Day 21: Quick Wins & Catch Up
- Today is another day for catching up or tackling one last hidden area you didn’t get to earlier in the week.
Week 4: Organize & Final Touches
In this final week, you’ll fine-tune your newly decluttered home and implement systems to keep it that way.
Day 22: Digital Declutter
- Declutter your phone, computer, and any other digital devices. Delete old files, apps, and organize your desktop or home screen.
- Back up important files and photos, and clear out your inbox by unsubscribing from unnecessary emails.
Day 23: Garage or Basement (Part 1)
- Tackle one area of the garage or basement. Focus on tools, sports equipment, or seasonal items.
- Donate or sell anything you haven’t used in the last year, and create a system for what you keep.
Day 24: Garage or Basement (Part 2)
- Continue where you left off. Use labeled bins or shelving systems to keep things organized.
- Be realistic about what you really need and store items by category.
Day 25: Paperwork & Files
- Go through paperwork in filing cabinets, desk drawers, or boxes. Shred what you don’t need, and file away important documents.
- Consider scanning items digitally to reduce paper clutter.
Day 26: Sentimental Items
- Take time today to sort through sentimental items. Keep what has true meaning to you and consider creating a memory box or album for items like photos and cards.
- Be thoughtful about what you keep and remember that memories aren’t tied to physical objects.
Day 27: Decor & Accessories
- Evaluate your home décor, accessories, and knick-knacks. Keep only what brings you joy or enhances your space.
- Consider rotating items seasonally if you have a lot, and donate or sell anything that doesn’t fit your style anymore.
Day 28: Review & Final Touches
- Walk through your home and review your work. Make any last-minute adjustments or touch-ups.
- Now that your home is decluttered, think about how to maintain it—daily tidying, regular donations, or setting up a seasonal purge schedule can help.
Day 29: Donate & Sell
- It’s time to take action on your “Donate” and “Sell” bins. Drop off donations at your local charity and list items to sell online.
- Celebrate your progress by clearing out these final items!
Day 30: Relax & Reflect
- You did it! Your home is decluttered, and you’ve made it through 30 days of focused work. Take some time to enjoy your refreshed space and reflect on how far you’ve come.
- Consider writing down a few tips for maintaining your newly organized home and reward yourself for all your hard work.
Additional Tips for Decluttering Success
Following these strategies will make it easier for you as you learn how to declutter your home in 30 days and maintain a clutter-free lifestyle afterward.
1. Start Small
- Focus on one small area at a time, like a single drawer or a corner of a room. This can help reduce overwhelm and give you a sense of accomplishment as you complete each space.
2. Set Realistic Goals
- Be mindful not to expect perfection immediately. Focus on progress over perfection. Celebrate the small wins along the way to stay motivated.
3. Adopt the “One In, One Out” Rule
- For every new item you bring into your home, get rid of one. This will help prevent future clutter from accumulating.
4. Ask Yourself Key Questions
- For instance, when deciding whether to keep an item, ask yourself:
- “When was the last time I used this?”
- Additionally, “Does this item add value to my life?”
- “Would I buy this again?” These questions can ultimately help you make quicker decisions on what to keep and what to let go.
5. Use a Decluttering Checklist
- A checklist can be a great way to stay on track, breaking down the larger decluttering process into daily or weekly tasks. You can download or create one that fits your schedule and home.
6. Limit Sentimental Keepsakes
- Keep sentimental items that have strong emotional value, but don’t feel obligated to keep everything. Try taking photos of sentimental items as a way to preserve the memory without holding onto the physical object.
7. Follow the “Touch It Once” Rule
- When you pick something up, immediately decide what to do with it: keep it, donate it, toss it, or move it to where it belongs. This prevents items from being moved around the house without resolution.
8. Create “No Clutter” Zones
- Designate areas in your home where clutter is not allowed, such as the dining room table or kitchen counter. Keep these spaces free of items as a way to maintain a sense of order.
9. Invest in Organizational Tools
- Simple storage solutions like baskets, drawer dividers, and shelf risers can help keep your space organized after you declutter. Clear bins can also be helpful for storing items while still allowing you to see what’s inside. For more ideas and products to keep your home tidy, visit The Container Store’s blog for expert advice and inspiration.
10. Set a Maintenance Routine
- To keep clutter from building up again, set a daily or weekly routine for maintaining order. This could be a 10-minute tidy-up at the end of each day or a seasonal decluttering session every few months.
11. Get the Family Involved
- If you live with others, encourage everyone to participate in the decluttering process. This can help create a shared sense of ownership over the home’s cleanliness and organization.
12. Don’t Be Afraid to Let Go
- Letting go of items can be hard, but it’s important to remind yourself that holding onto things you don’t need can create stress. If you haven’t used something in over a year, chances are you won’t miss it once it’s gone.
13. Avoid Buying Storage Containers Early
- Declutter first, then assess what storage containers you really need. Often, once you’ve pared down your belongings, you’ll find you need fewer organizational tools than you thought.
14. Create Donation Drop-Off Deadlines
- Set a firm deadline for dropping off donation items, like within a week of sorting them. This keeps the momentum going and prevents the “Donate” bin from becoming part of the clutter.
15. Track Your Progress
Take before-and-after photos or keep a journal of your decluttering journey. This can be a great motivator when you look back on how much you’ve accomplished.
Decluttering your home in 30 days may seem like a big task, yet with a clear plan, realistic goals, and consistent effort, it’s entirely achievable. In the end, you’ll create a more organized, peaceful environment. Remember, the key is to take it one day at a time, stay flexible, and celebrate each small victory along the way. As you let go of the clutter, you’ll make room for more of what truly matters in your life. Here’s to a more organized, stress-free home!
Ready to get started? Commit to learning how to declutter your home in 30 days and enjoy the benefits of a more organized, stress-free life.